
Using Alumio as a caching system
Now that we have touched upon the things you should look out for in your daily checks of the Alumio platform, how to set up alerts in the Dashboard, and how to optimize and reduce the load on your Alumio environment, it is time to show you how you can use Alumio as a caching system to speed up and supercharge your integrations by only sending Delta versions of the data from system A to system B.
Consider the following scenario: You are trying to pull in 1,000 products from system A and send them every minute to system B. This is not very easily done unless you, for example, only send the products that have either a change or an update to system B, instead of all the replicated data. This means you will only send 3 or 5 products at a time from system A to system B instead, or 20 at most during a busy minute, speeding up the data exchange process between integrated systems via Alumio. Here is how it works:
We have the incoming configuration where the data comes in through a route. If we were to apply the caching system, we would first need to apply the “Filter previously stored entities:”
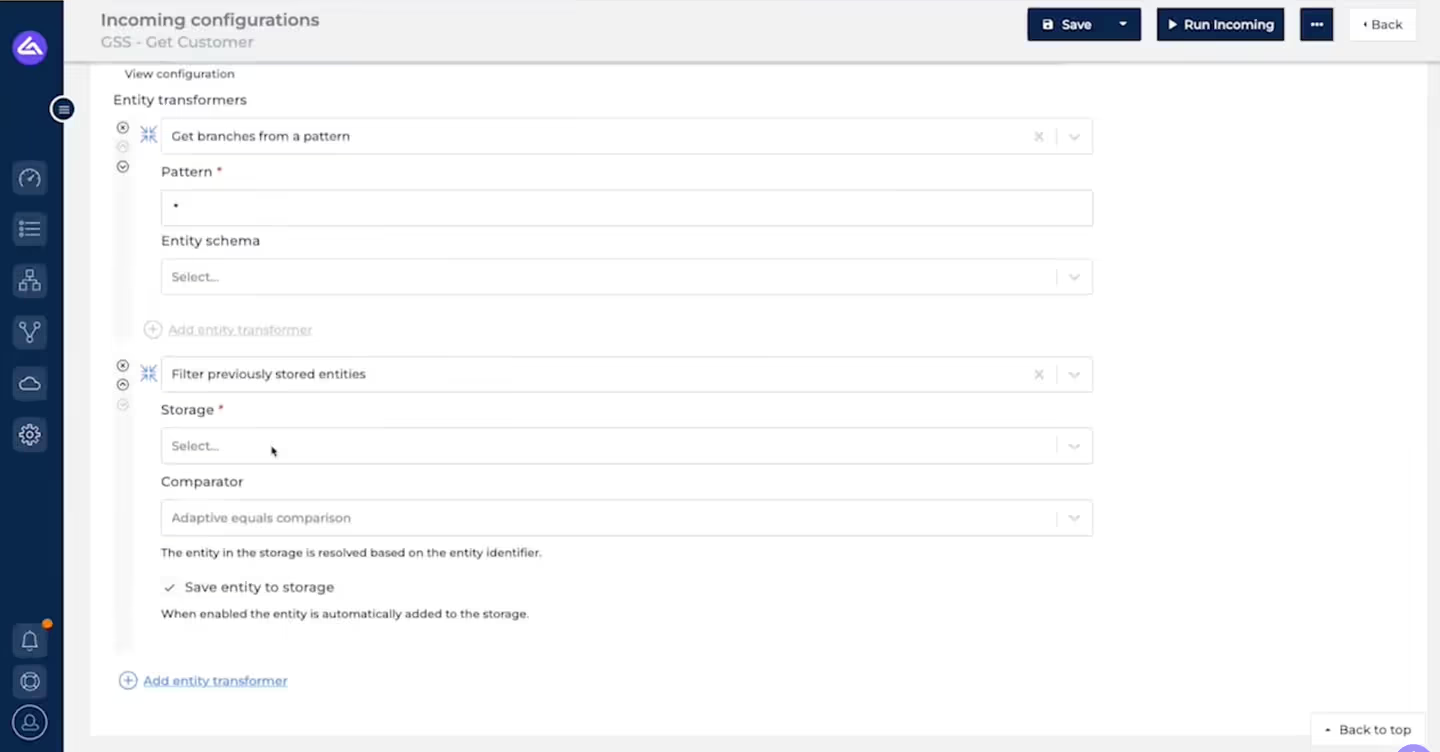
Then go to “Storages:”
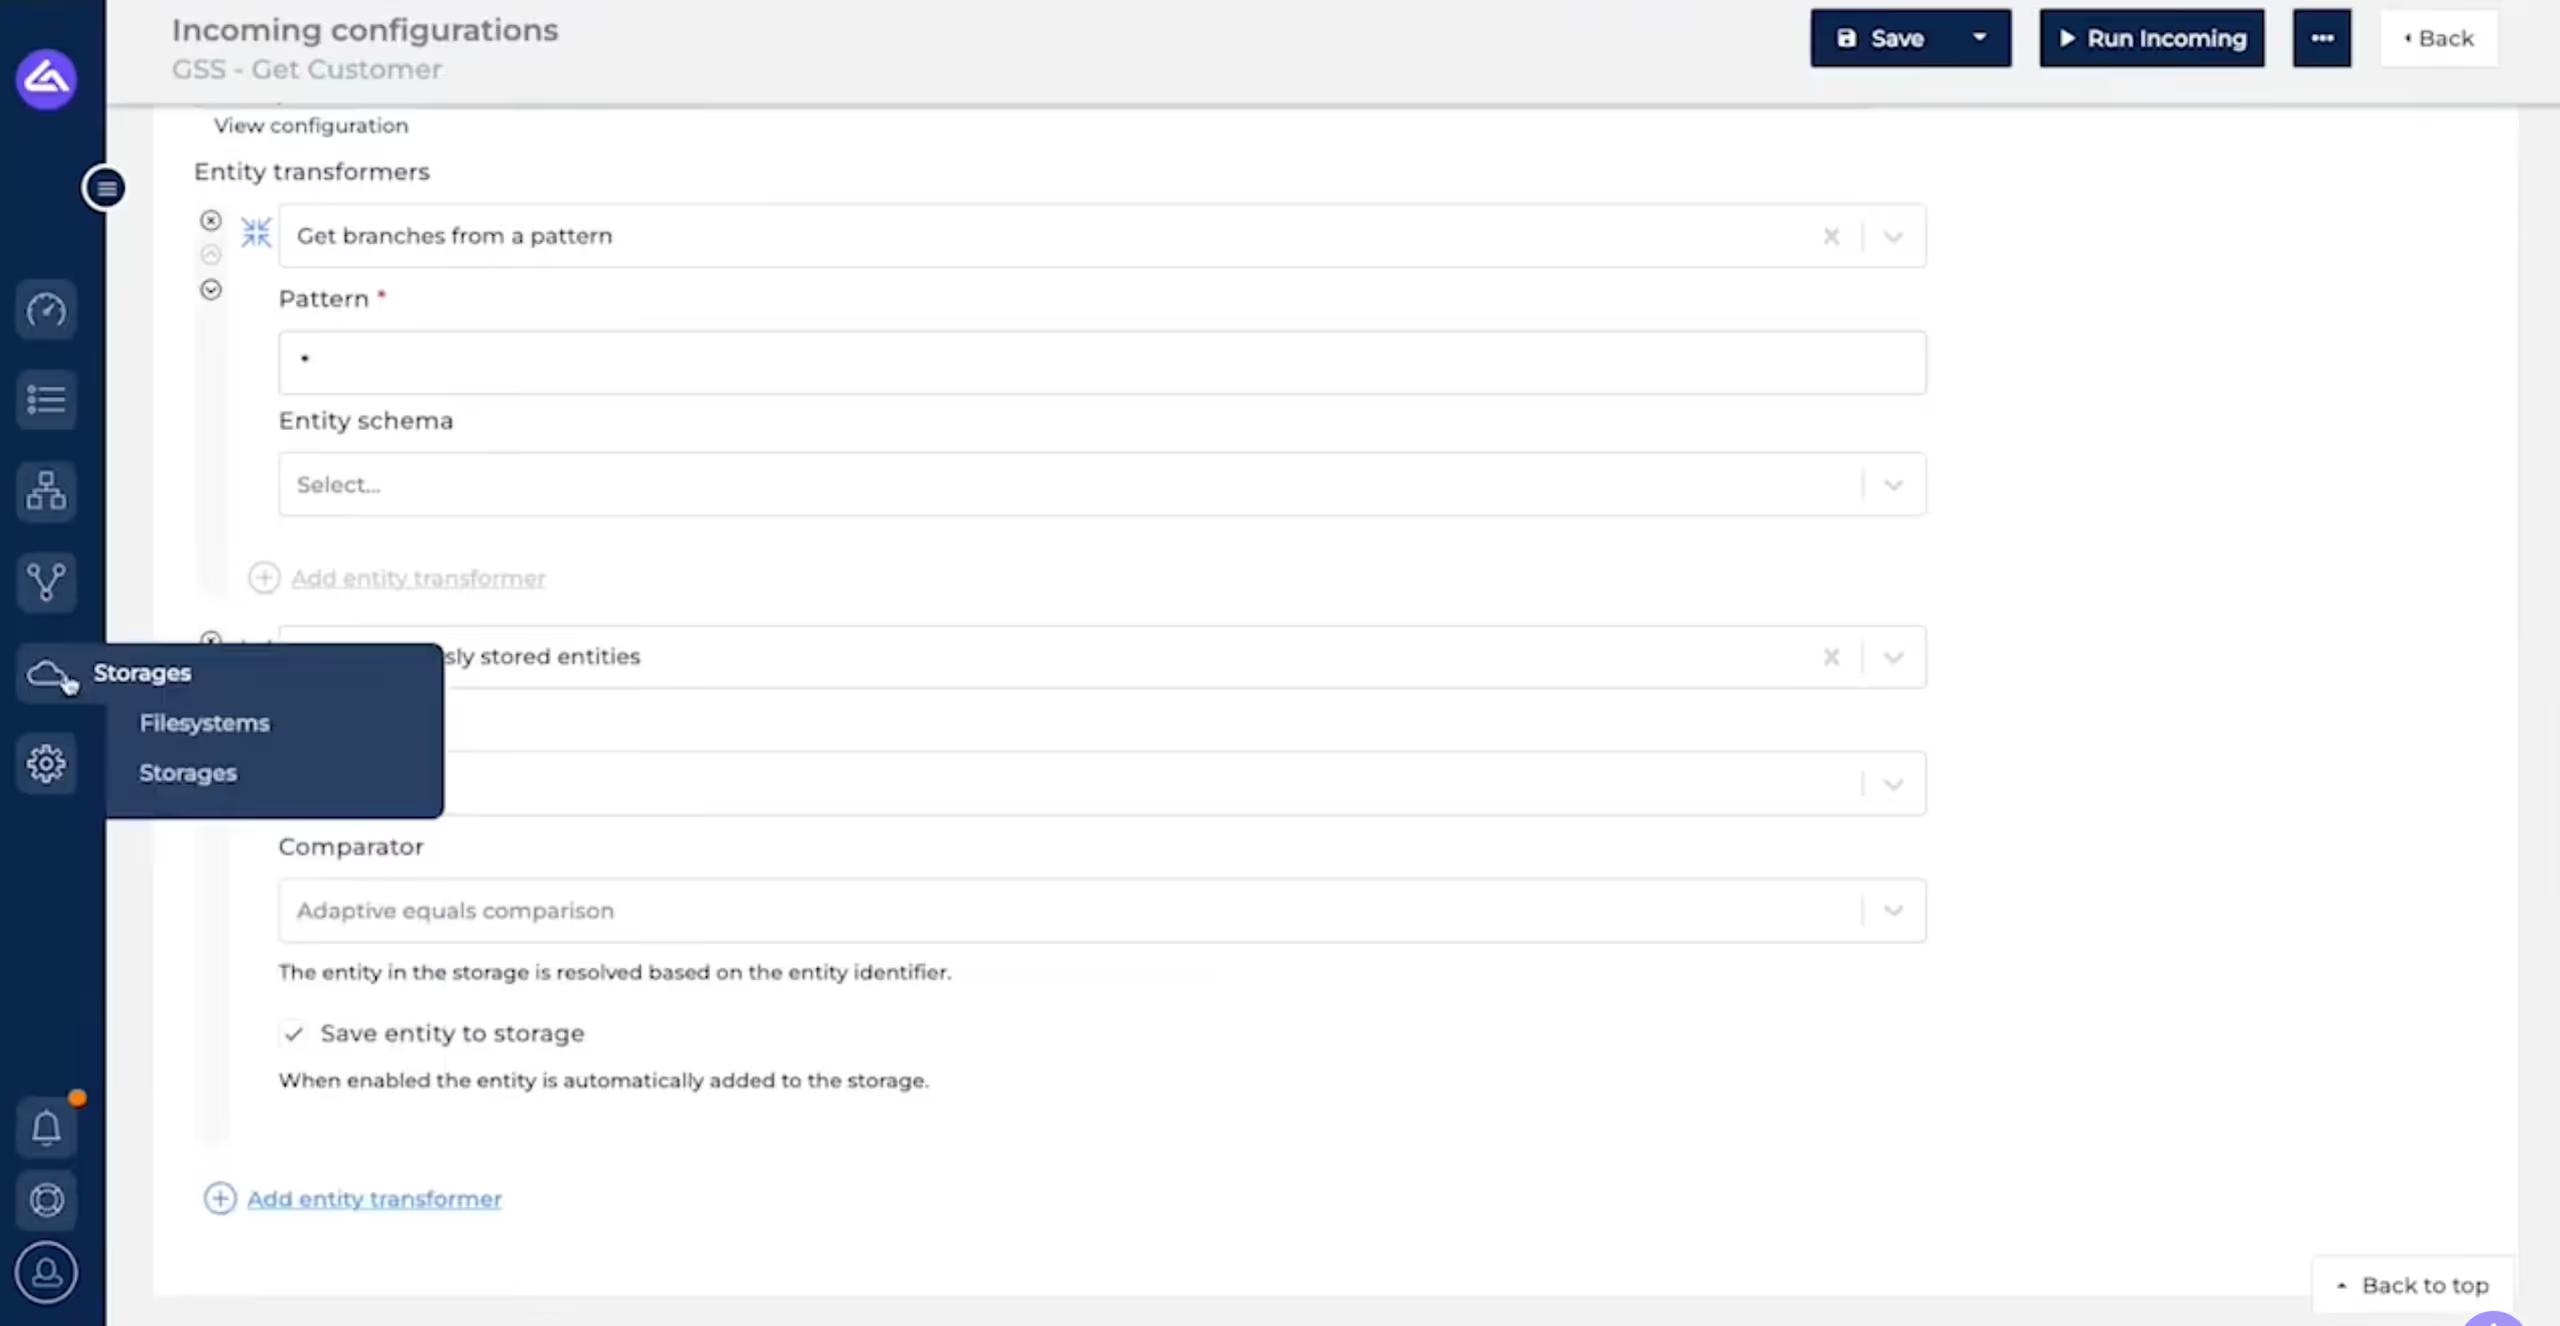
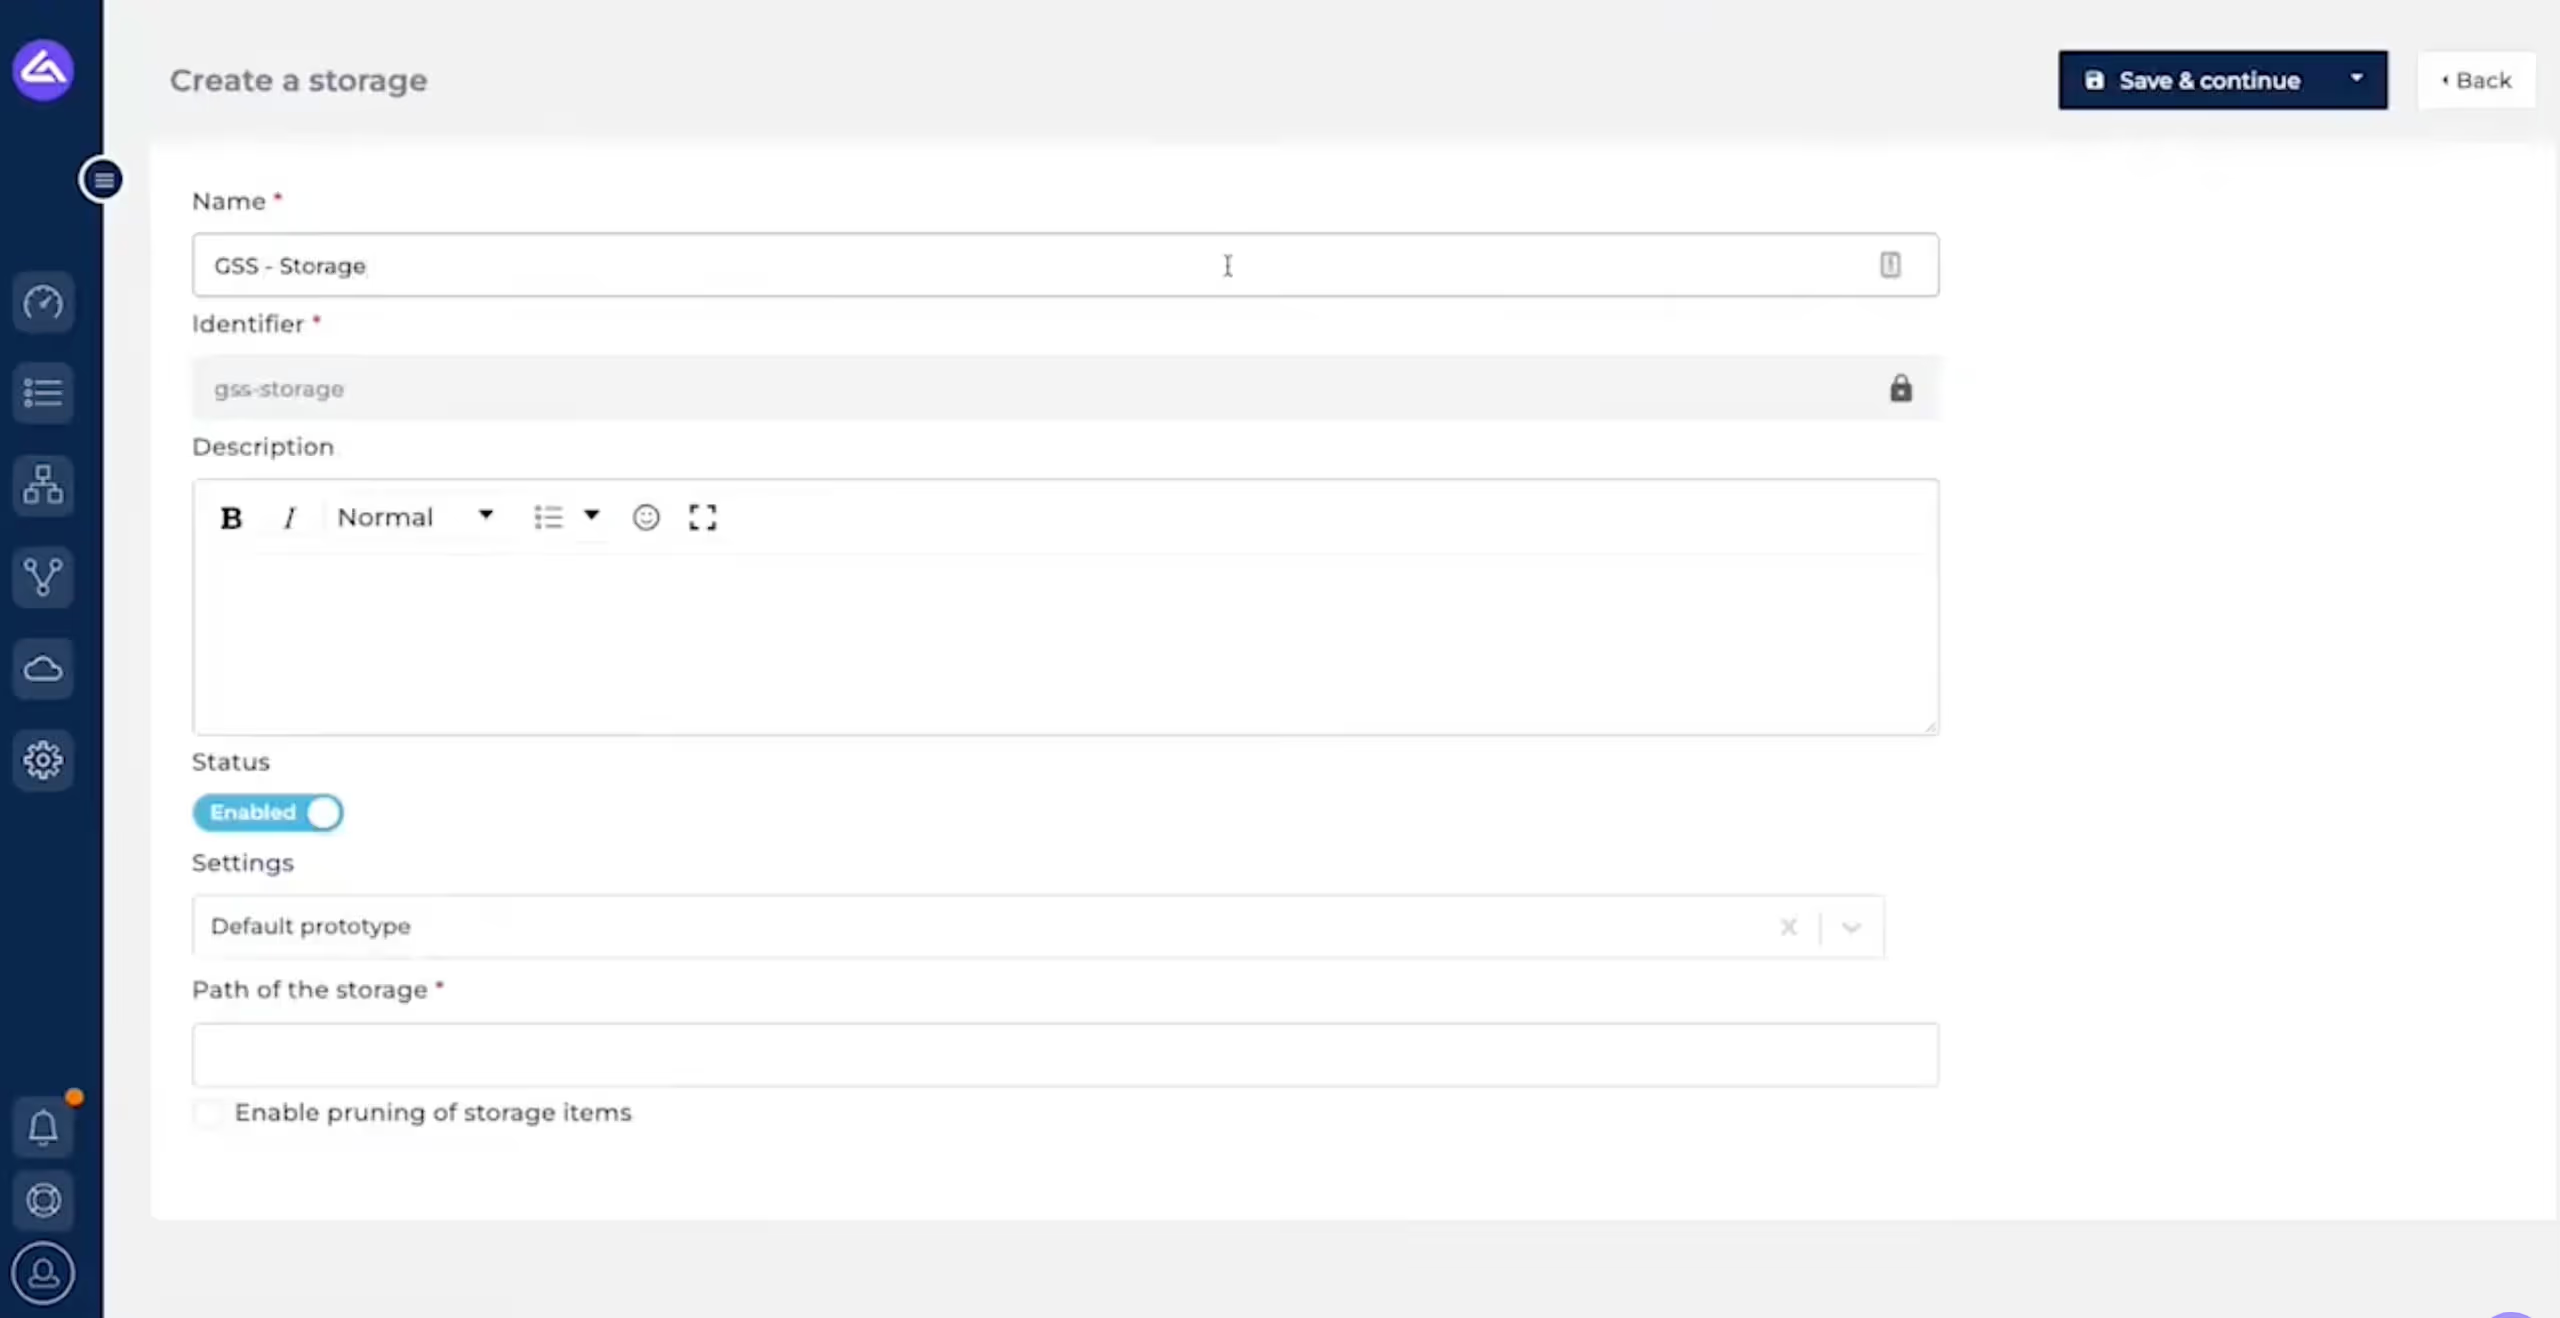
Create a new storage, and give it a name (in this case, Getting Started Session (GSS)) and indicate a “path of the storage,” which is something similar to a file system, which also means I could write multiple storages to the same path. In the “path of the storage” field, we would copy and paste the identifier since it is always unique, making the “path of the storage” also unique:
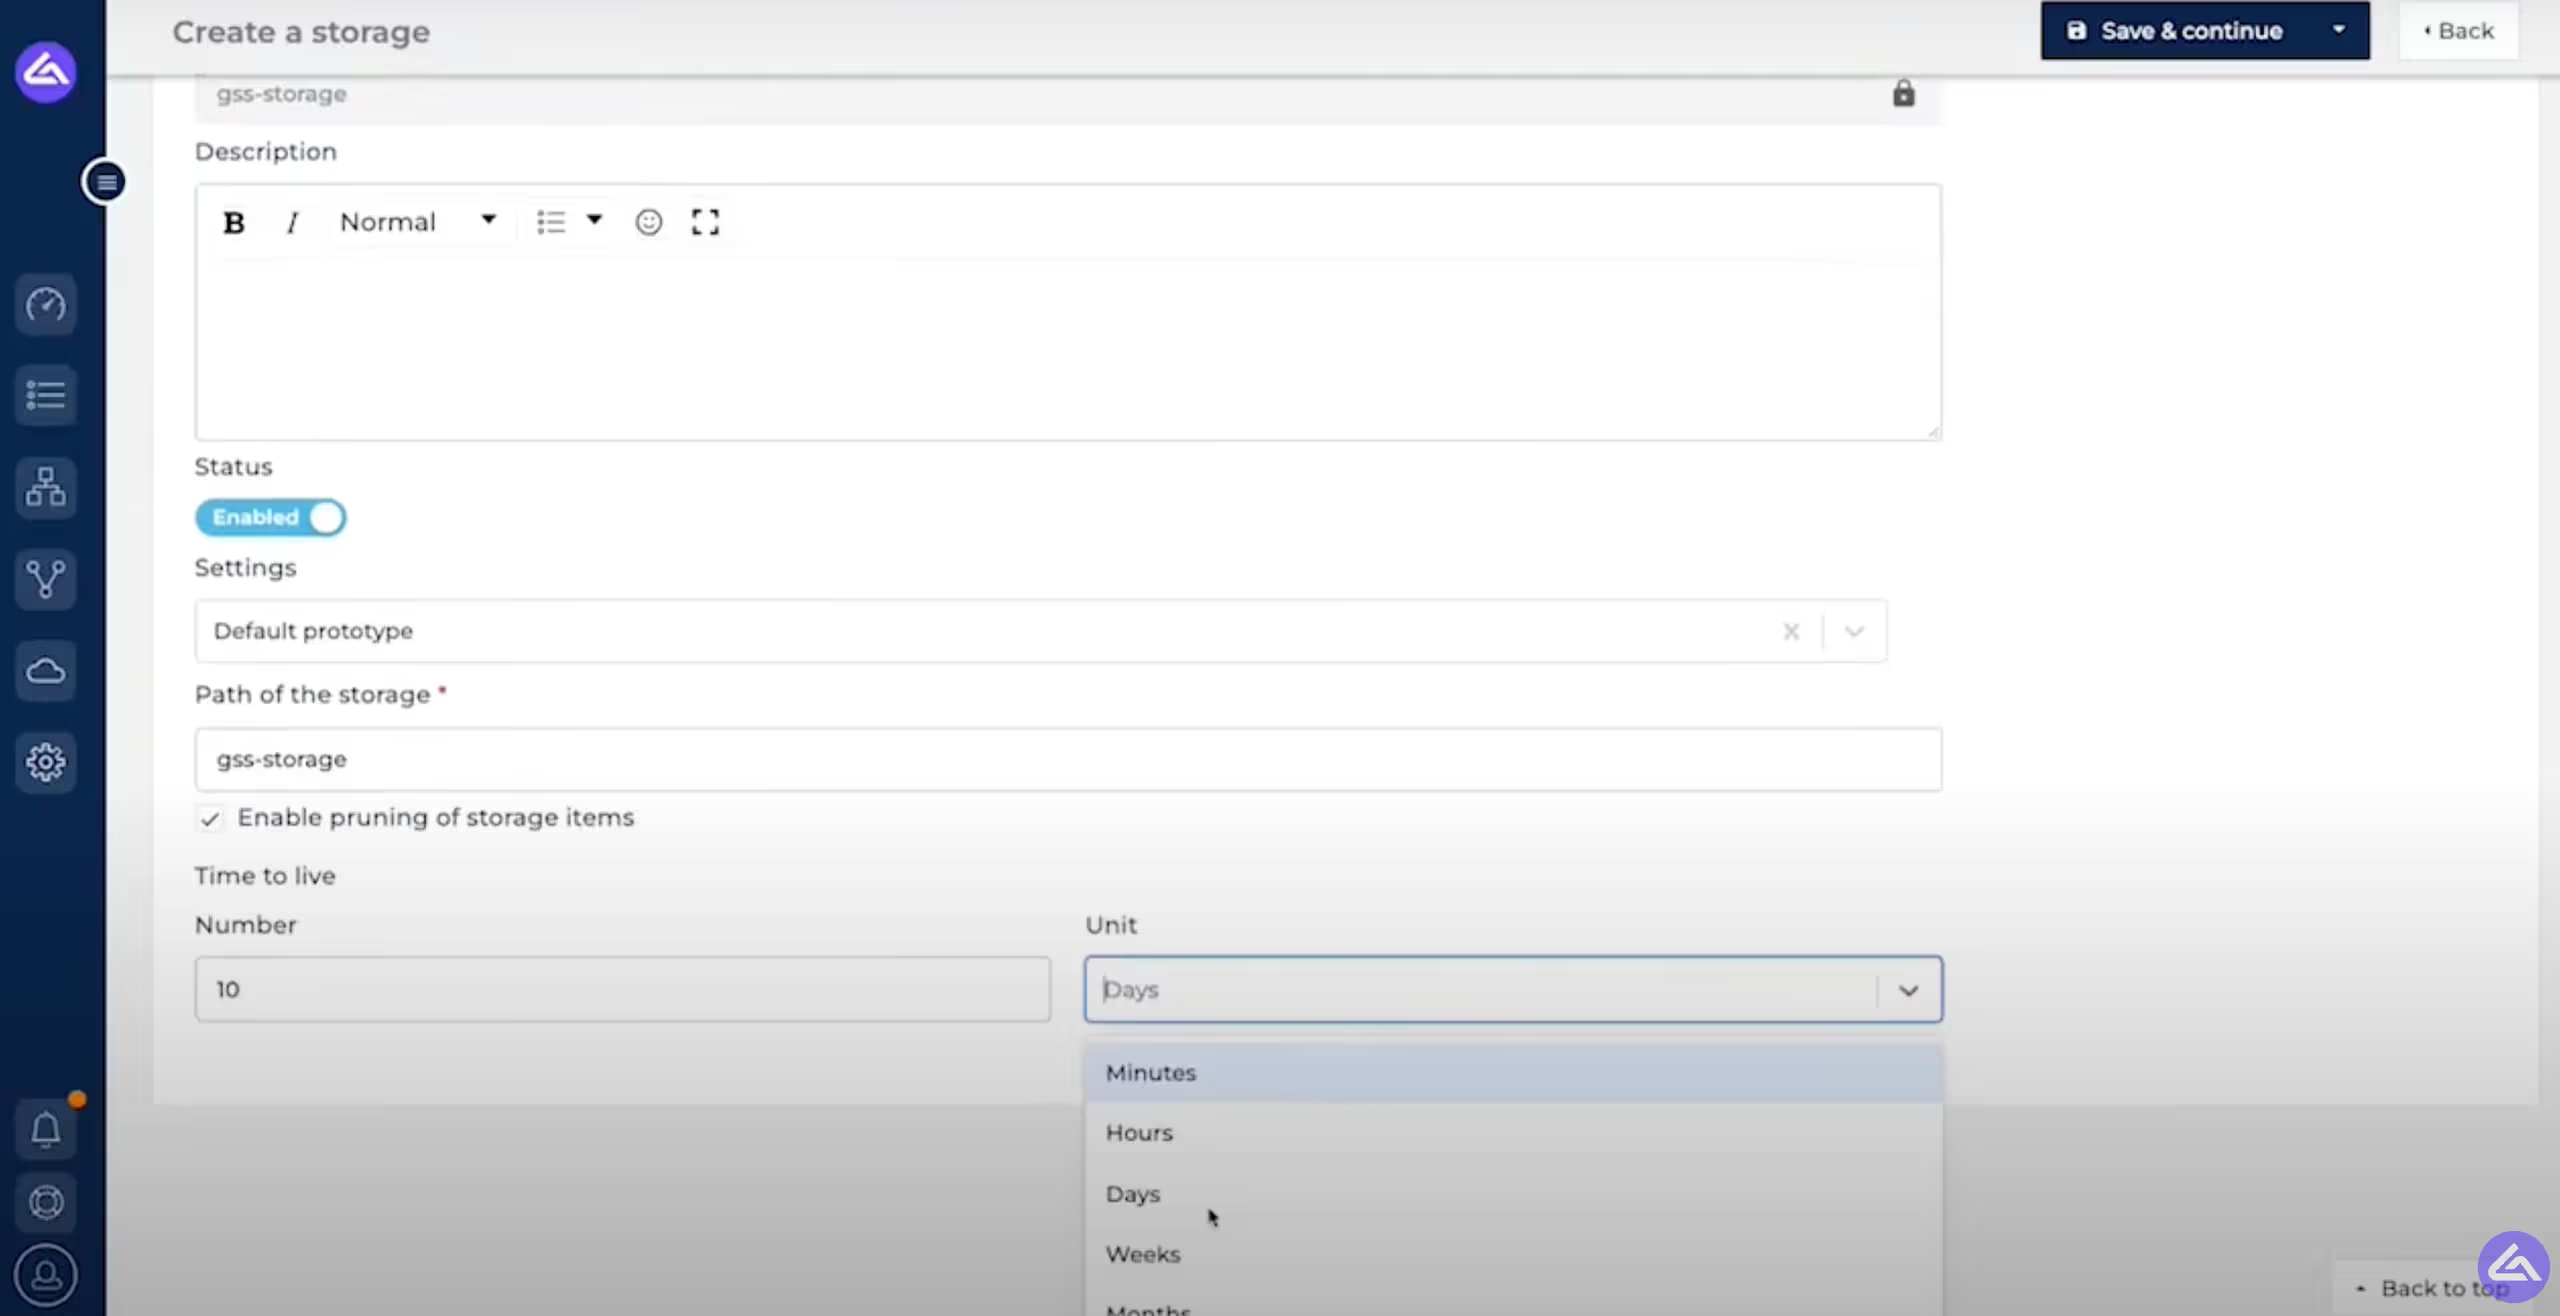
You might also want to have data with a certain lifespan, meaning that you can indicate how often you would like the data to be deleted, imitating an actual caching system. If you want data to be deleted after 10 hours, for example, you can indicate it in the field “time to live,” where you can adjust the longevity of the data by days, hours, minutes, etc.
Afterward, we can check the entities that are in the storage right now, and we can see that there's nothing in the storage for now:

If we go back to the incoming configuration, we can apply the “Storage” over here. Below the “Storage” field, you will see the “Comparator,” which will identify whether the data that comes in is exactly the same as it was before, or if it has changed. The data that is a replica of existing data, it will get filtered out, and only the one that is new or with changes will be sent through, exemplifying what we mentioned at the beginning of this lesson.
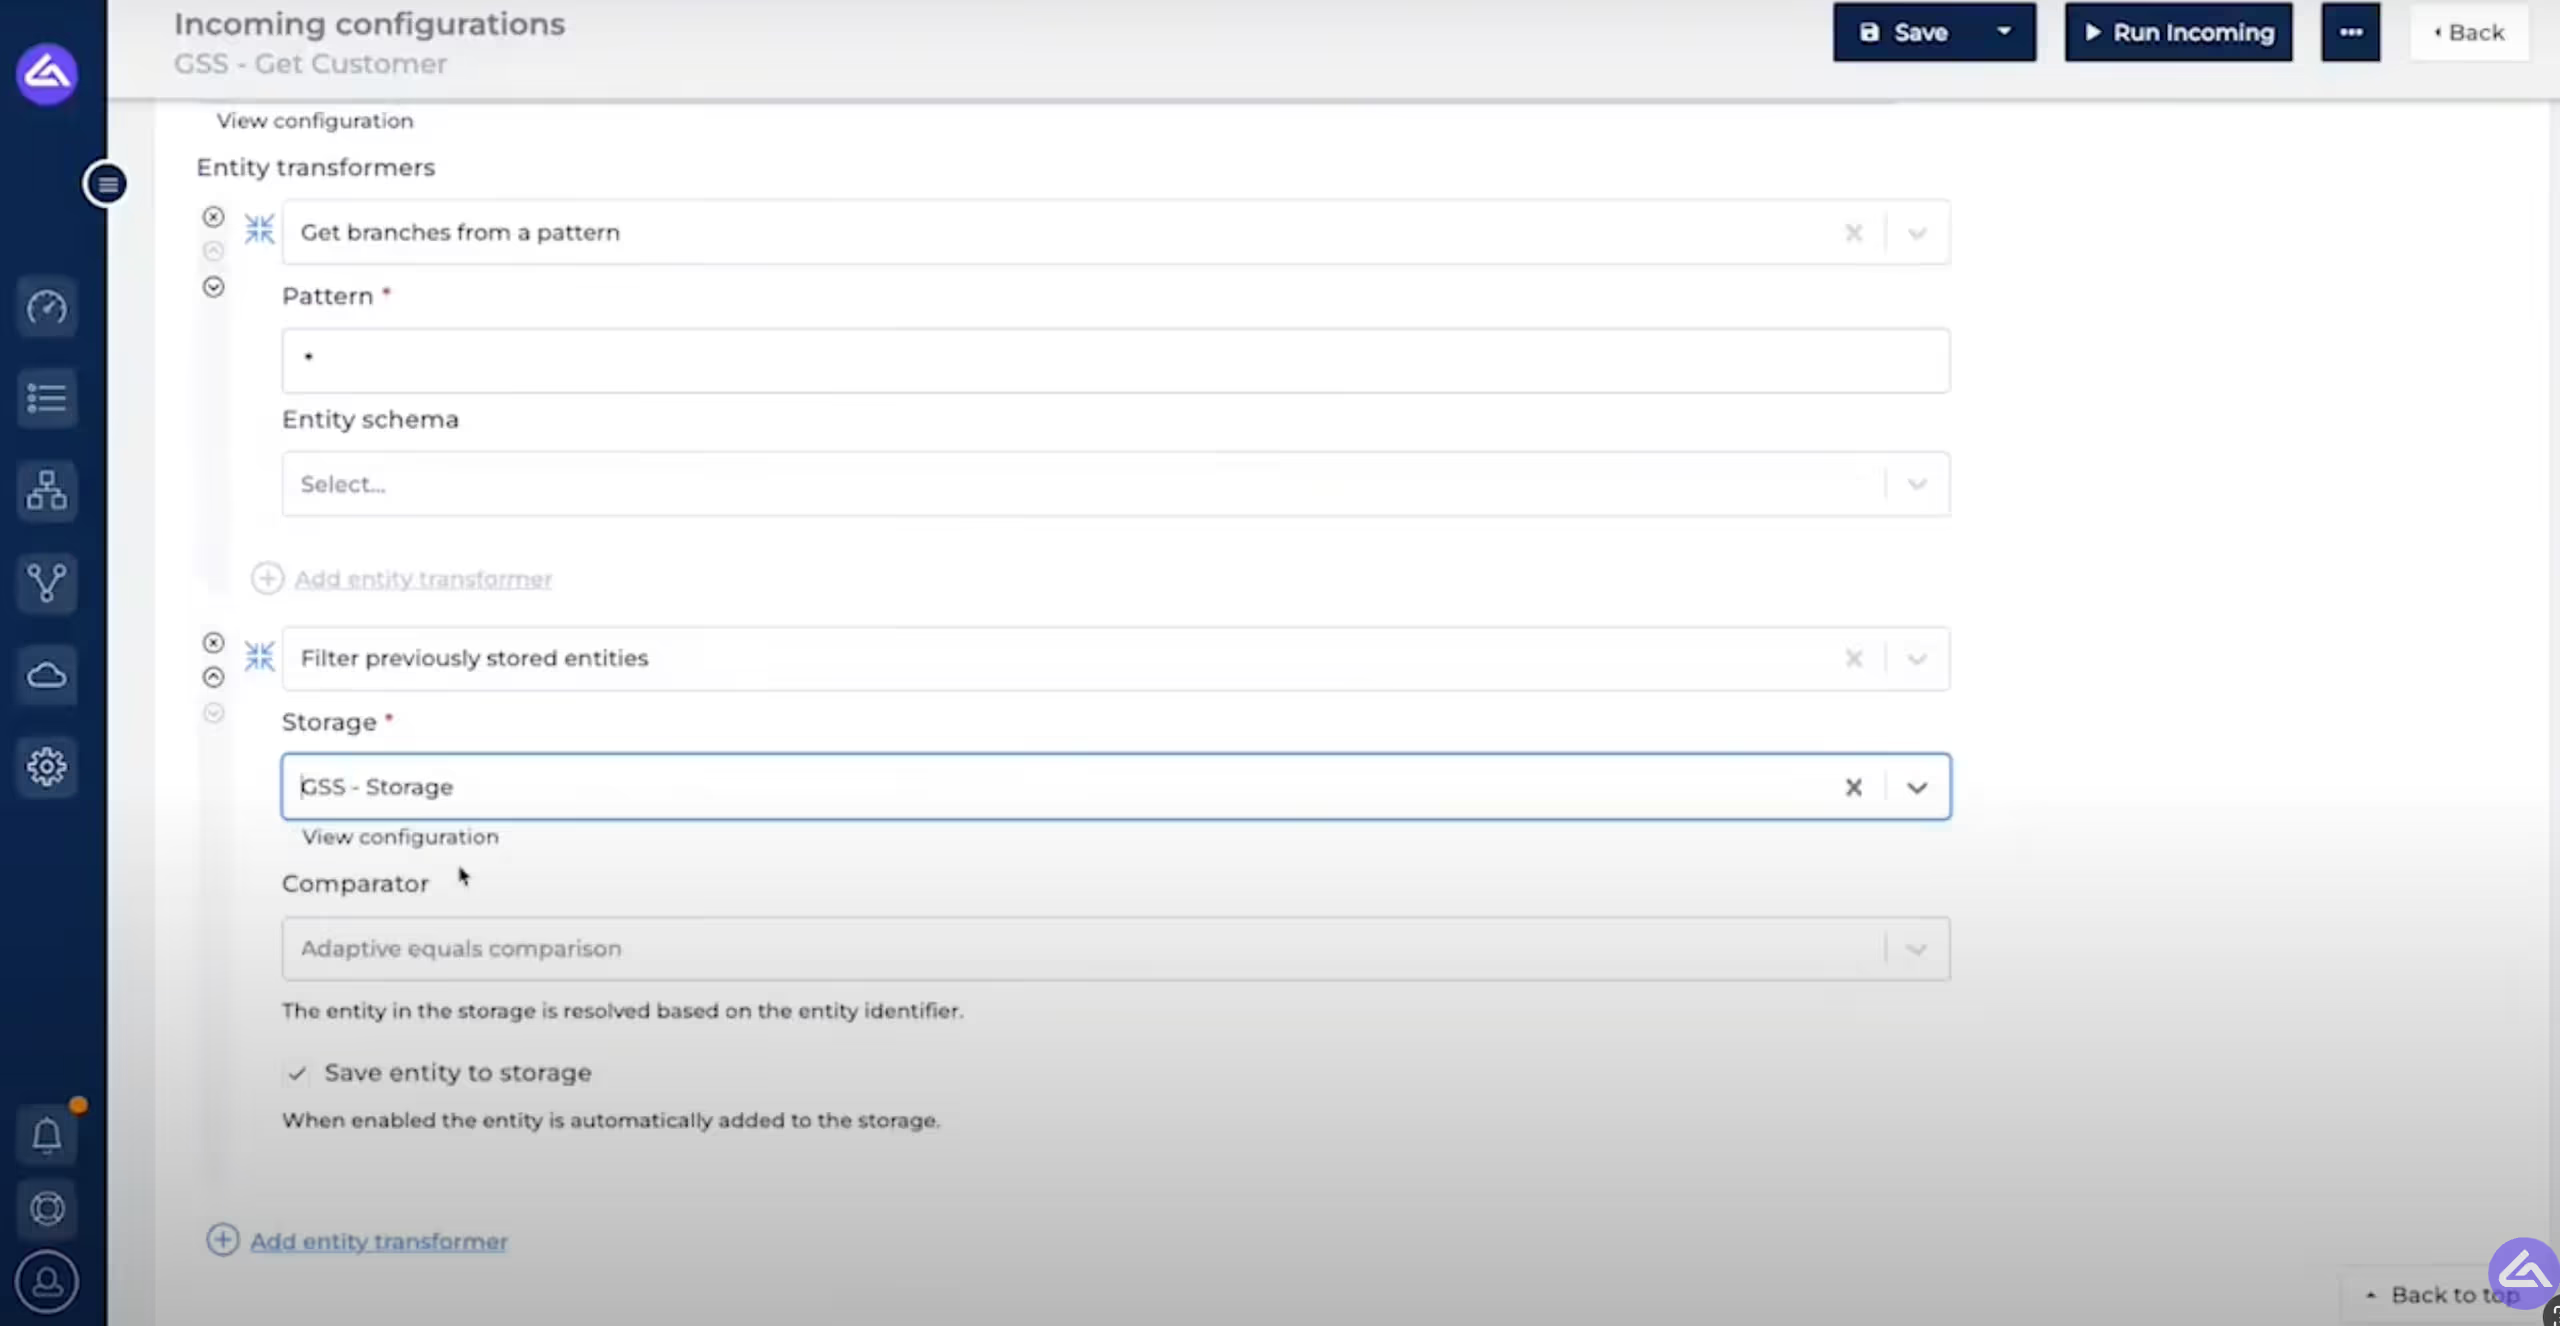
Once this comparison check has been performed and the right data has been sent through, the entities will also be stored there right away. This means, you will not need to add another transformation to actually store that data as well.
After saving this, you will have used Alumio as a caching system, and you can repeat this process whenever you want to speed up your data transfer and optimize your data flow. If you want to get a walkthrough of how to use Alumio as a caching system, check out this video on your YouTube channel:
We hope this course has adequately taught you how to perform regular maintenance of the Alumio platform by yourself, including conducting daily checks of the platform to setting up alerts, optimizing your system to handle traffic spikes efficiently, and implementing Alumio as a caching system to process data quicker and more efficiently.
See you in the next course!


